User Dictionary Registration on MyPage
You can register words to user dictionary profiles from MyPage. There are some limitations to this method:
- You can only register up to 1,000 words
- For Hybrid engines, word registration is not possible for non-Japanese engines
When registering words to the user dictionary from MyPage, the Profile ID of the profile where words are registered automatically becomes the Service ID. For example, if the Service ID is "user01", the Profile ID will also be "user01". If you want to register to a profile with a Profile ID different from the Service ID, please use the User Dictionary Registration API.
Word registration to the user dictionary from MyPage can be done in the "User Dictionary Registration" section on the "Recognition Rate Adjustment" page. You can directly access the "Recognition Rate Adjustment" page from this link. Login is required to access MyPage.
The "User Dictionary Registration" section on the "Recognition Rate Adjustment" page is displayed as follows:
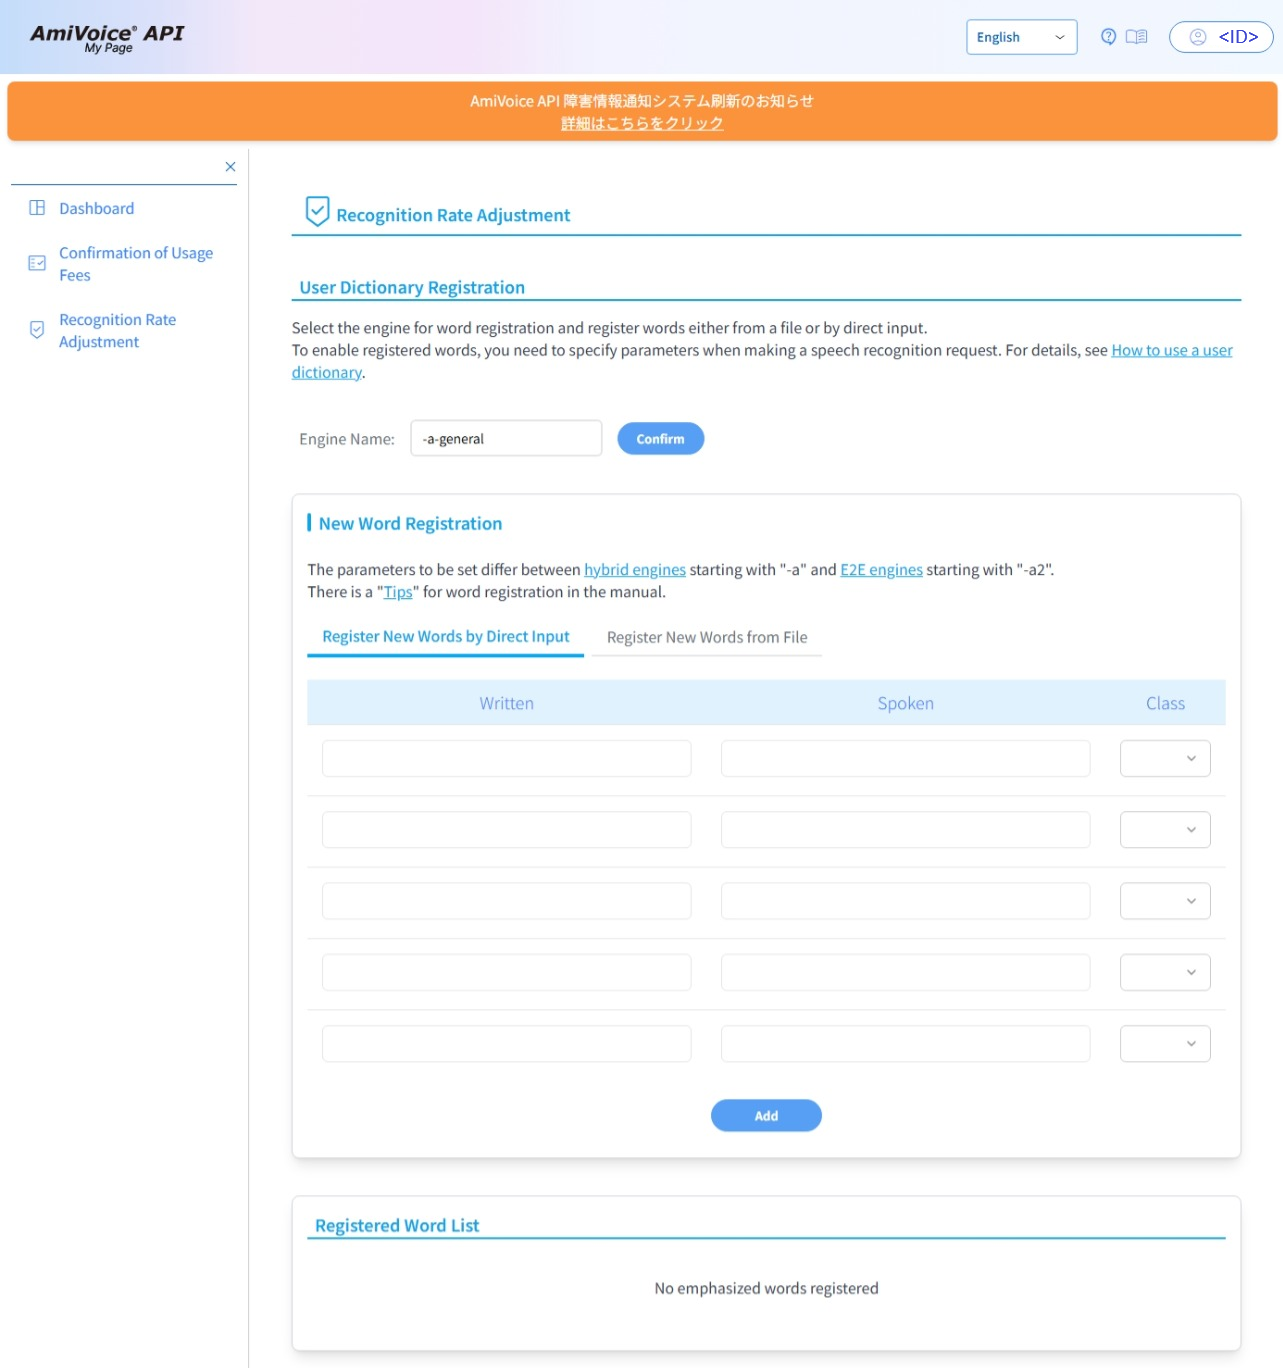
On MyPage, you can save words using two methods: "Register New Words from File" and "Register New Words by Direct Input". The procedures for each are explained below.
User Dictionary Word Registration Procedure
Register New Words from File
You can register multiple words at once from a text file.
First, prepare a file containing the list of words you want to register.
- Supported character encodings are UTF-8, Shift_JIS, and EUC-JP.
- Write one word per line in the file. Each line should contain the written, the spoken, and the class (for End to End engines: written, alternative written, biasing level), separated by tabs in that order.
For Hybrid engines:
Written[Tab]Spoken[Tab]Class
- In the Japanese engine, the spoken can be written in either katakana or hiragana.
- The class is optional. However, for name engines and address engines, specifying a class is mandatory.
- If you omit the class, the second tab can be present or absent.
For End to End engines:
Written[Tab]Alternative_Written[Tab]Biasing_Level
- Alternative written and biasing level are optional.
- If omitting only the alternative written, enter both the first and second tabs before writing the biasing level.
- If omitting both alternative written and biasing level, tabs are not necessary.
- If the biasing level is omitted, the default value of 0.5 is applied.
- A unified biasing level is applied for the same written. If multiple biasing levels are specified for the same written, the value applied to the topmost entry for this written will be uniformly applied.
Here's an example file (download) we'll use:
www     とりぷるだぶる
www     とりぷるだぶりゅー
wwww    ふぉーだぶる
- Log in to AmiVoice API and click on [Recognition Rate Adjustment] in MyPage.
- In the [User Dictionary Registration] section, register words or words for keyword biasing. First, select the Connection Engine Name from the pull-down menu, or enter it manually to register a word. Here, we'll select [-a-general]. After changing the engine, click [Confirm].
- From [New Word Registration], select the [Register New Words from File] tab and click the [Choose File] button.
- Select the prepared file
dictionary.tsv. - Click either [Add] or [Overwrite].
- When you click [Add], the words listed in the file will be added without affecting the words that are already registered.
- When you click [Overwrite], all previously registered words will be deleted and replaced with the words listed in the file.
- The words described in the text file will be displayed in the [Registered Word List].
- Next, follow the steps for Testing the User Dictionary to perform speech recognition. The recognition result should include the written "WWW".
Register New Words by Direct Input
You can register words one by one by directly entering the written, the spoken and the class (for End to End engines: written, alternative written, and biasing level) on MyPage. For example, if you want the speech "とりぷるだぶる" to be recognized as "WWW", register as follows:
- Log in to MyPage for the AmiVoice API and click the [Recognition Rate Adjustment] menu.
- In the [User Dictionary Registration] section, register words or words for keyword biasing. First, select the Connection Engine Name from the pull-down menu, or enter it manually to register a word. Here, we'll select [-a-general]. After changing the engine, click [Confirm].
- From [New Word Registration], select the [Register New Words by Direct Input] tab, and enter "WWW" in [Written] and a spoken form "とりぷるだぶる" in [Spoken] field.
- If there is no suitable class for the word you want to register, leave [Class] unselected. We won't select anything here.
- For name engines and address engines only, specifying a class is mandatory.
- Click the [Add] button.
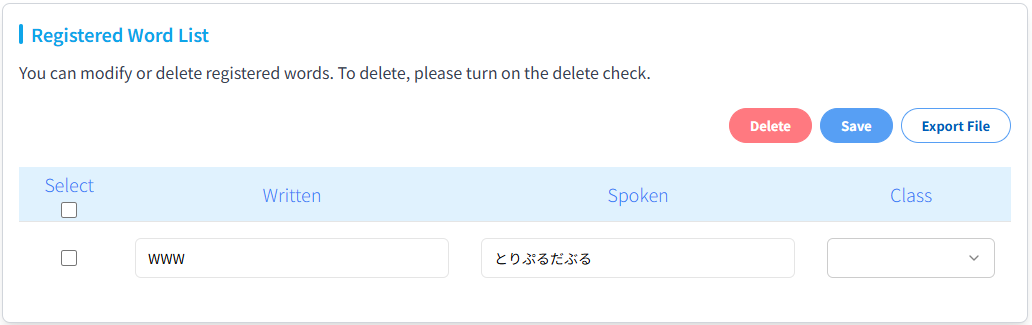
- The entered word will be displayed in the list of the [Registered Word List].
- Next, follow the steps in Testing User Dictionary to perform speech recognition. The recognition result should include the written "WWW".
Figure. Word list after registration
For End to End engines,
- The input fields are [Written], [Alternative Written], and [Biasing Level]. Only [Written] is required.
- Multiple alternative writtens can be registered for the same written.
- For the same written, the biasing level is unified to one value. When registering new words by direct input, the value applied to the topmost entry for the same written will be uniformly applied. When editing already registered words, the value of the topmost entry displayed in the list will be uniformly applied, so if you want to change it, please edit the topmost entry of the same written.
- You cannot register the same alternative written multiple times.
Export
You can export registered words for each engine and save them to a file.
- Log in to MyPage for the AmiVoice API and click the [Recognition Rate Adjustment] menu.
- In the [User Dictionary Registration] section, select the Connection Engine Name for which you want to export words. After selecting the engine, click [Confirm].
- Click [Export File] in the [Registered Word List] section at the bottom of the page.
- You can download a file named
words.tsv(for End to End engines,words_e2e.tsv).